this little lady is on holidays in the Whitsundays


this little lady is on holidays in the Whitsundays

All About Eve rocks effortless chic. “Designed for girls who like to live young, wild and free”, the design team behind this Australian brand have mastered mixing ever changing trends with classic wardrobe staples. “Built from a love of photo and graphic prints, today All About Eve has a main ladieswear range boasting fast affordable fashions, a swimwear line and a tween collection.”
I’m lucky enough to live in a subtropical climate which means swimming in my pool is almost all year round. My old 2011 bikini is now feeling the effects of being worn to every beach and pool nearby, looking very stretched, faded and baggy. So I thought it was time for a investment in some new bikinis.
All About Eve have a fantastic range of swimwear in all the seasons trendiest styles, prints and colours. The All About Eve shop can be found at http://www.edgeclothing.com.au/Brands/All-About-Eve
As I’m loving graphic prints at the moment I decided to buy All About Eve Rochelle pant which is a quirky graphic mix of greens, blues, purples and black. I also purchased All About Eve Santorini Pant Floral which has flowers in water colour like pink and purples, contrasting with a strong black background.

Top: All About Eve Santorini Pant Floral
Bottom: All About Eve Rochelle Pant
via ladycarmichaelx instragram
Lady Carmichael x

I have a large collection of nail polishes which I’m afraid to say, go mostly unused. Don’t get me wrong, I love nail polish but I hate the chipping which always seems to happen to me with in only a day or two after application. I’m quite rough on my nails, working in hospitality makes it hard not to be! BUT I think I have found the solution – Shellac Nails

Shellac Nails don’t chip and can last for up to two weeks! Fantastic! Basically, shellac nails are just like getting a normal manicure, using a special UV Gel nail polish. Between the base coat, colour and top coat the nail is cured (dried and hardened) under a UV light. Most salons in Australia are offering this service these days, costing roughly $50. Shellac is much kinder to your nails than gel and acrylic, and has a natural look as it is just your nail being painted without any extension tips. CND Shellac appears to be the first choice for most reputable beauty salons, though some others offer alternatives such as Bluesky Shellac, Gelish, Opallac.
It is possible to do shellac nails at home, although nail professionals don’t recommend it. CND Shellac is very expensive to purchase, so I did my research on Bluesky Shellac. After much internet trawling I have just purchased a Bluesky Shellac Starter kit from www.passionflowerindustries.com for $84.55. Bargin, considering all other starter sets of Bluesky were $100+. It comes with a 36 watt UV lamp, Bluesky base and top coat, and 6 different colours of my choosing. Also thrown in are 5 alcohol wipes (for final step in shellac application in removing tacky layer), 2 cuticle sticks and a nail file. I am a bit weary of this Bluesky product as it has had a few bad reviews but it has also had MANY great ones so I can’t wait to try it out!

So once it arrives I’ll give update on part 2 of DIY – shellac nails at home. But in the mean time, what has been your experience with shellac? love it or loath it?
Lady Carmichael x

Online shopping is just getting bigger and bigger. While I maintain that it will never replace going into a store feeling the textures, seeing the actual colours and that fantastic feeling of wondering around the shopping center on a lazy Sunday afternoon, I must admit, I am starting to love online shopping more and more. Over the past year I have turned to internet shopping for two main reason, more choice of products and cheaper prices.
One of my favorite sites is ASOS (http://www.asos.com) Ebay is another of my favourites! (www.ebay.com)
  Some of my other favourites:
Okay, I’m just going to put it out there. So here I go…
I love bags. I love new bags, old bags, bright bags and dark bags. Bags that are too small to fit more than a credit card and bags that are so large they seem impossible to fill (although somehow I always manage to!)
Coming into Autumn and Winter, I have discovered some bag trends which I will loving all season long!
BBT (Big Black Tote) – I have recently purchased a beautiful BBT which I just adore. Its large enough to fit all the essentials (phone, wallet, etc) as well as miscellaneous items which I always seem to need in winter (umbrella, extra cardigan etc.) A classic black tote never goes out of style!
Colour Block Bags/Clutches – After scouring the internet, I’ve found a few of my favorite style of colour block bags/clutches. Anything with neutral tones of light browns and creams with a splash of turquoise or fuschia pink and even some black, and you’ve got me hooked!
Geometric Prints and Patterns Bags/Clutches – Geometric prints and patterns that are strong and bold are going to be hot this winter. A wide range of patterns and colours are to chose from, though I am loving black and white with a splash of colour.
Anything studded – ANYTHING! Bags, clutches, purses, and wallets. Release your inner rock chic and embrace this trend. My personal favorite are gold or silver studs on black, you just can’t go wrong!

My history with red lipstick is dated back to when I was three years old and discovered my mothers make up draw. Drawn in by the bright, bold colour and the smooth texture, I promptly applied it to the majority of my face. However, in the years gone on (and much better skills in application) my quest for the perfect red has never stopped. Until now.
I would like to introduce, Sportsgirl POUT ABOUT IT! in Bombshell.

image – http://www.sportsgirl.com.au
It is a vibrant lip colour that doesn’t lie when claims to “moisturises and protects” lips while giving a wonderful matte finish. I have found its long lasting colour can get me through a whole shift at work without needing to reapply. The added bonus is that it’s not tested on animals which always gains a big tick in my books! For only $9.95, I have also bought ALL ABOUT YOU, which is a nude, fleshy colour and FRUIT TINGLE which is a beautiful coral which was perfect for summer. Sportsgirl have also recently released some new colours which I can’t wait to get my hands on!
Whats your perfect pout colour?
Lady Carmichael x
Lately I been running out of draws, table tops and any spare door handle in my bedroom to put my ever growing collection of jewellery. After trying to infiltrate enemy territory (known as my boyfriends bedside cabinet), enough was enough. So I got looking for jewellery stands and holders, and after getting my inspiration from Pinterest I decided to DIY my own.

The Final Product – A three tiered jewellery holder and a framed earring stand
HOW TO – Make a Three Tiered Jewellery Holder
What you’ll need

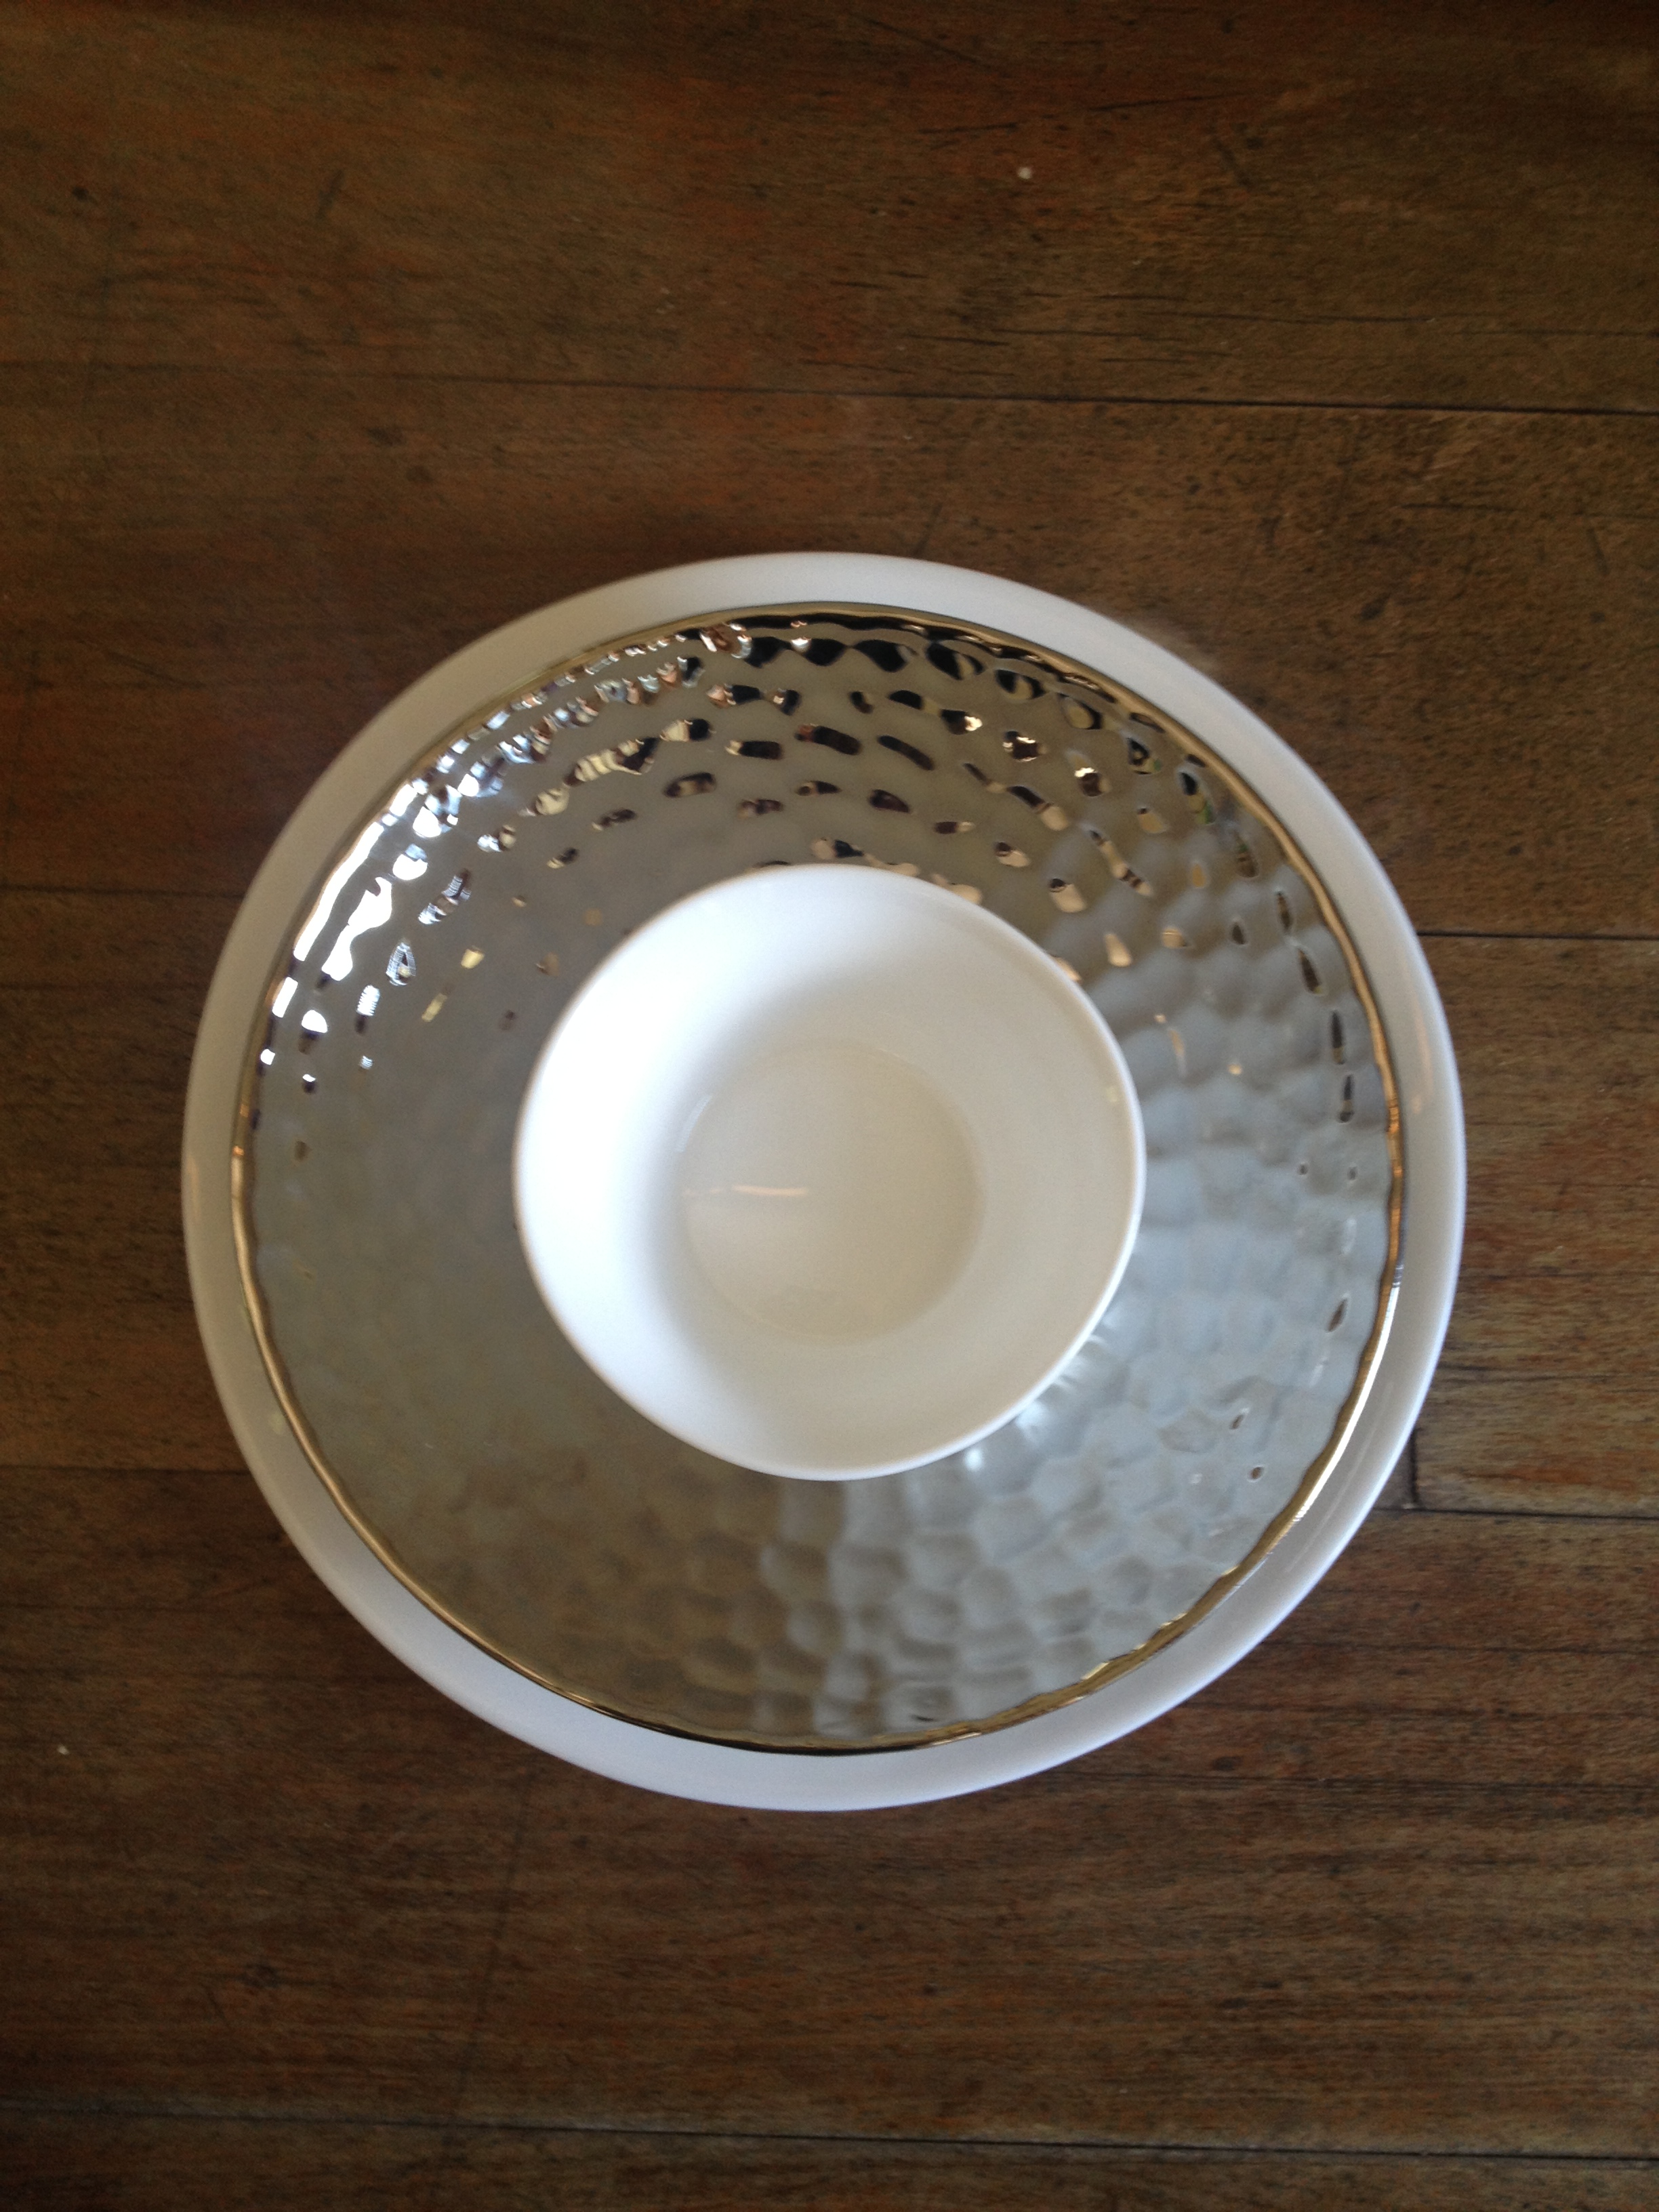
Take your largest plate which will be the base of the holder, measure and mark the middle, so you know where to place the candle holder. Using the hot glue gun, apply glue around the edge of the candle holder and press firmly down. Hold for 10-20 seconds.

and it should look something like this…
Apply glue to top of candle holder and place your second biggest plate on top, making sure it is centered. And repeat gluing process with the second candle holder.

Lastly, glue the final plate onto the top. I used a small bowl for the top for a secure place to put my rings.


The final product
HOW TO – Make a framed doily earring stand
what you’ll need

you can chose a frame however big or small you like, this one is 18×24
First, remove all insides of the frame, including backing and glass. And over lay the doily on the back of the frame.

Using the hammer, start inserting the thumb tacks into all four corners, then spaced around the edges. Make sure to keep the doily taught.

Make sure to keep the doily taught
Trim the over hang off the doily and using a hot glue gun to secure all the edges and to keep it from fraying.


The final product!

